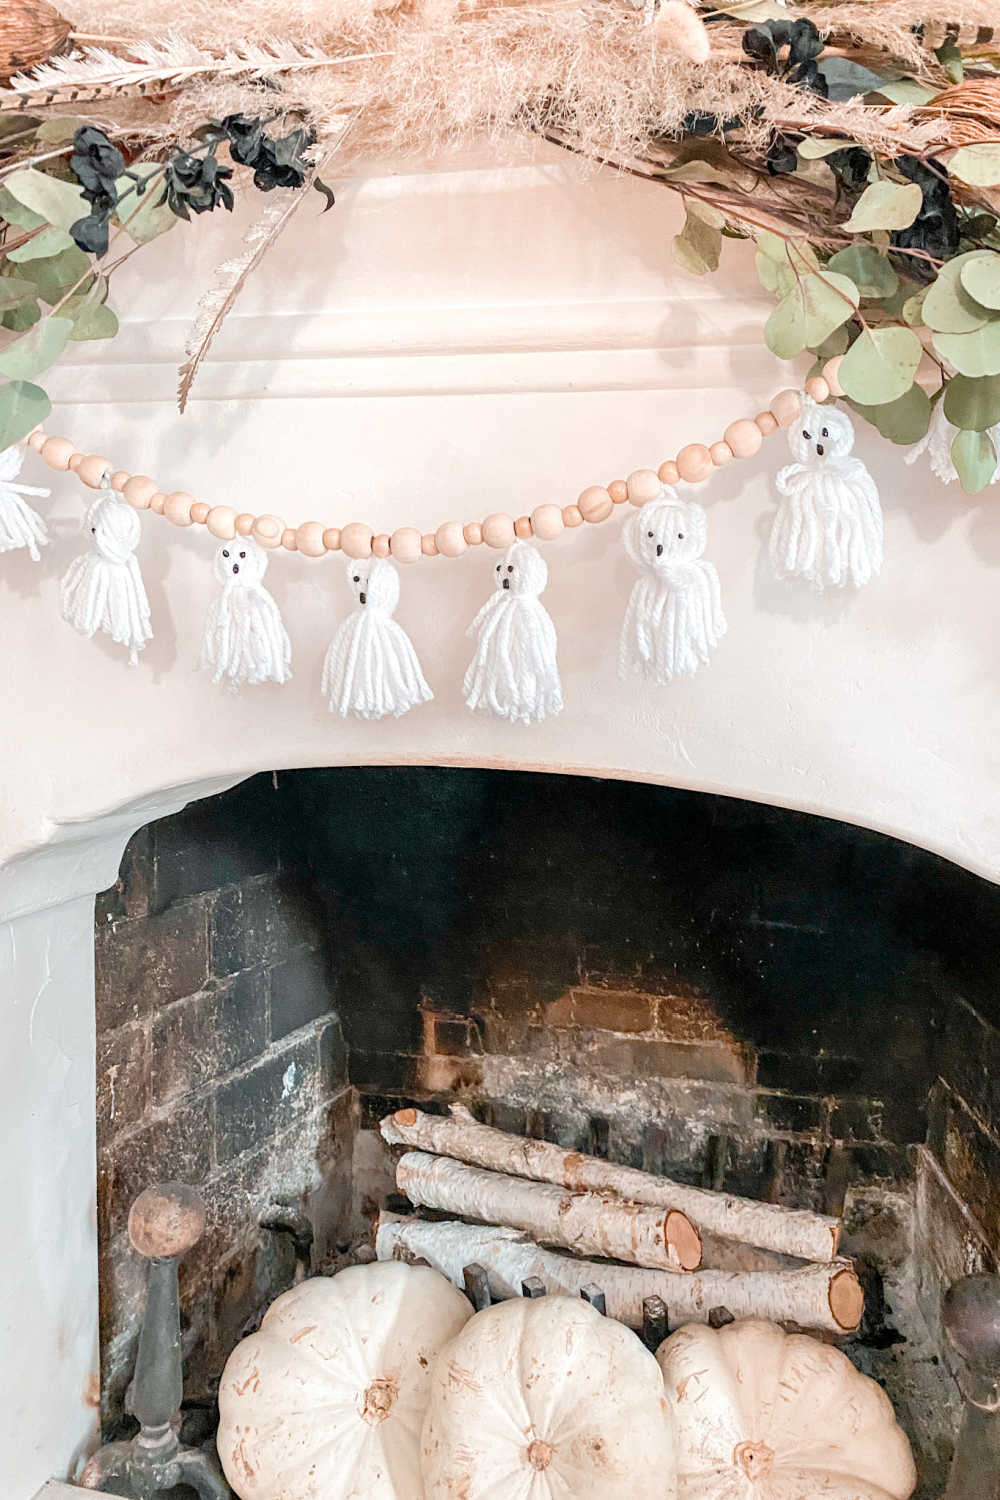
This easy tutorial shows you how to use wooden garland beads and yarn to make a Halloween ghost garland!

I love those cute wooden bead garlands I see everywhere- they are both farmhouse and boho. I see them strewn across tables, draping across books, bundled up in bowls or hanging from mantles. DIY yarn pom poms and tassels are all the rage too, and I think they’re great because they are so easy to make! This craft is fun because it merges the two. If you’re pressed for time you can just make the ghosts and add them to a premade wooden bead garland. In our case, my daughter Violet Mae loves to bead and make pom poms with yarn so she made most of this herself. Its a great fine motor skill activity for your kids. And any craft that can double as decor is a win win in my book!
FOR OTHER SPOOKY HALLOWEEN DECOR INSPO CHECK OUT MY POST HERE!

How to make a Halloween wooden bead garland.
Materials used:
Wooden garland beads from your local craft store. I bought mine in two different sizes from Michaels.

Yarn, string or kitchen twine for stringing your garland I used kitchen twine and taped one end to make it easier to string through the beads

Yarn in color of your choice
Black puffy paint we used this for the eyes and mouth
Something to wrap the yarn around when making the ghost tassels
Tape
Step by Step Instructions for how to make wooden garland beads.
-Lay out all your materials and group your beads by size in different bowls.

-I used kitchen twine to string my wooden garland beads- no need to cut yet, just make sure to tape the free end so it doesn’t fray.

-After you decide on the pattern you want go ahead and weave the taped end through the hole on each bead and start stringing your garland.
-Once you’re done stringing all the beads decide how much length you want left at each end. Roll out a few inches extra and create a loop on the taped end twist it around to make a knot at the bottom of the loop. Do this twice. Pull the side still attached to the spool and hold it up to the tied end to be sure they are the same length before cutting. Now make a loop on this end and double knot.
The wooden garland beads portion of your craft is complete! Now its time to make the ghost tassels!
All you need for this part of your garland is yarn, your hand or object of choice, scissors and tape!
How to make ghost tassels with yarn.
Step by Step Instructions:
Step 1: Some people use the palm of their hand, but we found a small book that would be the right length for our ghost.
Step 2: Grab your spool of yarn and start wrapping around at least 25 times while using your opposite thumb to hold the other end of yarn securely against the book.

Step 3: Next, take a piece of yarn at least three inches long and tie a knot firmly around the middle of one side.

Step 4: Carefully slide the yarn off the book or hand.
Step 5: Hold the end with the knot straight overhead and cut the bottom loop of yarn in two.

Step 6: Take another 2-3 inch piece of yarn and tie it about an inch down from the looped end (this will create the head of the ghost. You want the looped end with the extra string to be on top of the head). Now you can either tie a bow around the neck, leave it hanging or trim it.

7. Snip the bottom of the ghost to make clean even edges.


Step 8: Use puffy paint to create two eyes and the mouth. You can also hot glue googly eyes or fabric. The paint needs several hours to fully dry.


HERE ARE SOME QUICK EASY LINKS TO ALL THE MATERIALS I USED.
These are affiliate links (meaning I make a teeny commission if you purchase any of these items through my link- but this is AT NO EXTRA COST TO YOU! Its just one way of helping me keep my blog going so thank you!)

How to attach the tassels to the wooden garland beads.
This part is actually pretty easy! Most beaded garlands have just enough slack to create a slight gap in between the beads.
-Using the extra string you left on top of your ghost’s head tie a knot in between the beads to secure your tassel.

And VOILA! Congratulations on making your very own Halloween ghost tassel garland! So boho, so simple, so CUTE!!!!


If you want a tutorial on how to make a fall floral arrangement for your mantle check out this post!


HAPPY HALLOWEEN!!!
Come say Hi and connect with me over on INSTAGRAM where I post on stories daily!
&
Follow my PINTEREST page for all the fun seasonal decor inspo!

Leave a Reply